DIY Ottoman Pouf
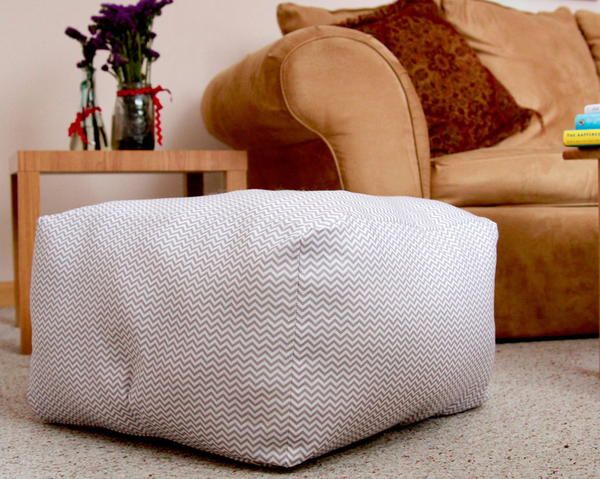
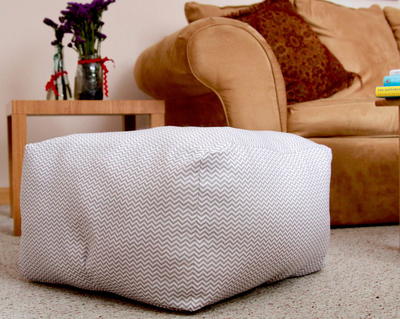
If you've looked through a furniture catalog lately, you've probably stumbled across a page of poufs. Catalog poufs are expensive, but this DIY ottoman pouf will bring the trend into your home without the trendy price. This easy sewing project creates beautiful poufs that can be used as ottomans or floor seating. These adaptable floor poufs are wonderful for small living spaces as multi-use furniture gives more open space in a room. Break out your sewing machine and thread and learn how to make a pouf ottoman today!
Estimated Cost$11-$20
Time to CompleteIn an evening
Primary TechniqueSewing

Project TypeMake a Project
Materials List
- Approximately two yards of cotton or canvas fabric
- Sewing machine and thread
- 3-4 bags of polyfill stuffing
- Cutting Mat (24" x 36")
- RazorEdge™ Easy Action™ Fabric Shears for Tabletop Cutting (8")
Instructions:
-
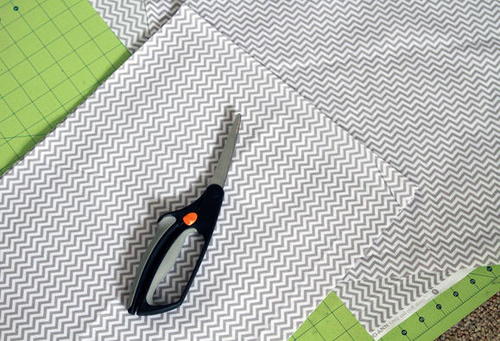
Cut two 20"x 20" inch squares of fabric (these will be the top & bottom of your pouf).
-
Cut four 20" x 14" squares of fabric. Alternately, you can cut two 20" x 28" strips of fabric (these will form the sides of your pouf).
-
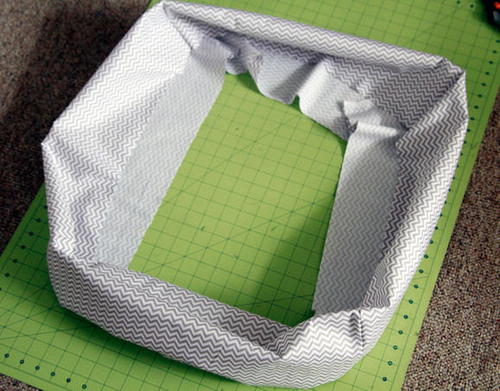
Pin right sides of 20" x 14" or 20" x 28" pieces together. Stitch seams to form a “tube” of fabric.
-
Pin 20" x 20" square to one side of the fabric “tube,” being careful to align the corners.
-
Sew seams to form a base. Don’t worry if the sides don’t align perfectly…you may need to form a small pleat in some places. This won’t be noticeable when the pouf is stuffed.
-
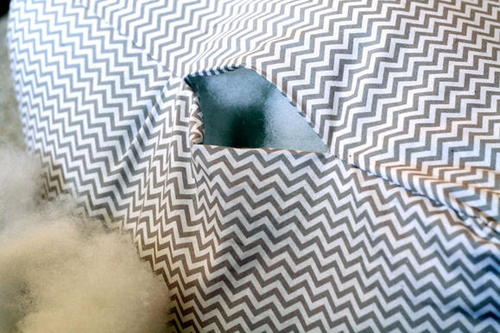
Pin remaining square, and sew 3 sides. On the fourth side, leave an opening to insert stuffing into.
-
Turn pouf right side out, and stuff with polyfill until you reach your desired firmness.
-
Stitch the opening closed.
Read NextFall Plaid DIY Blanket Scarf

